

Precise Subfloor Preparation
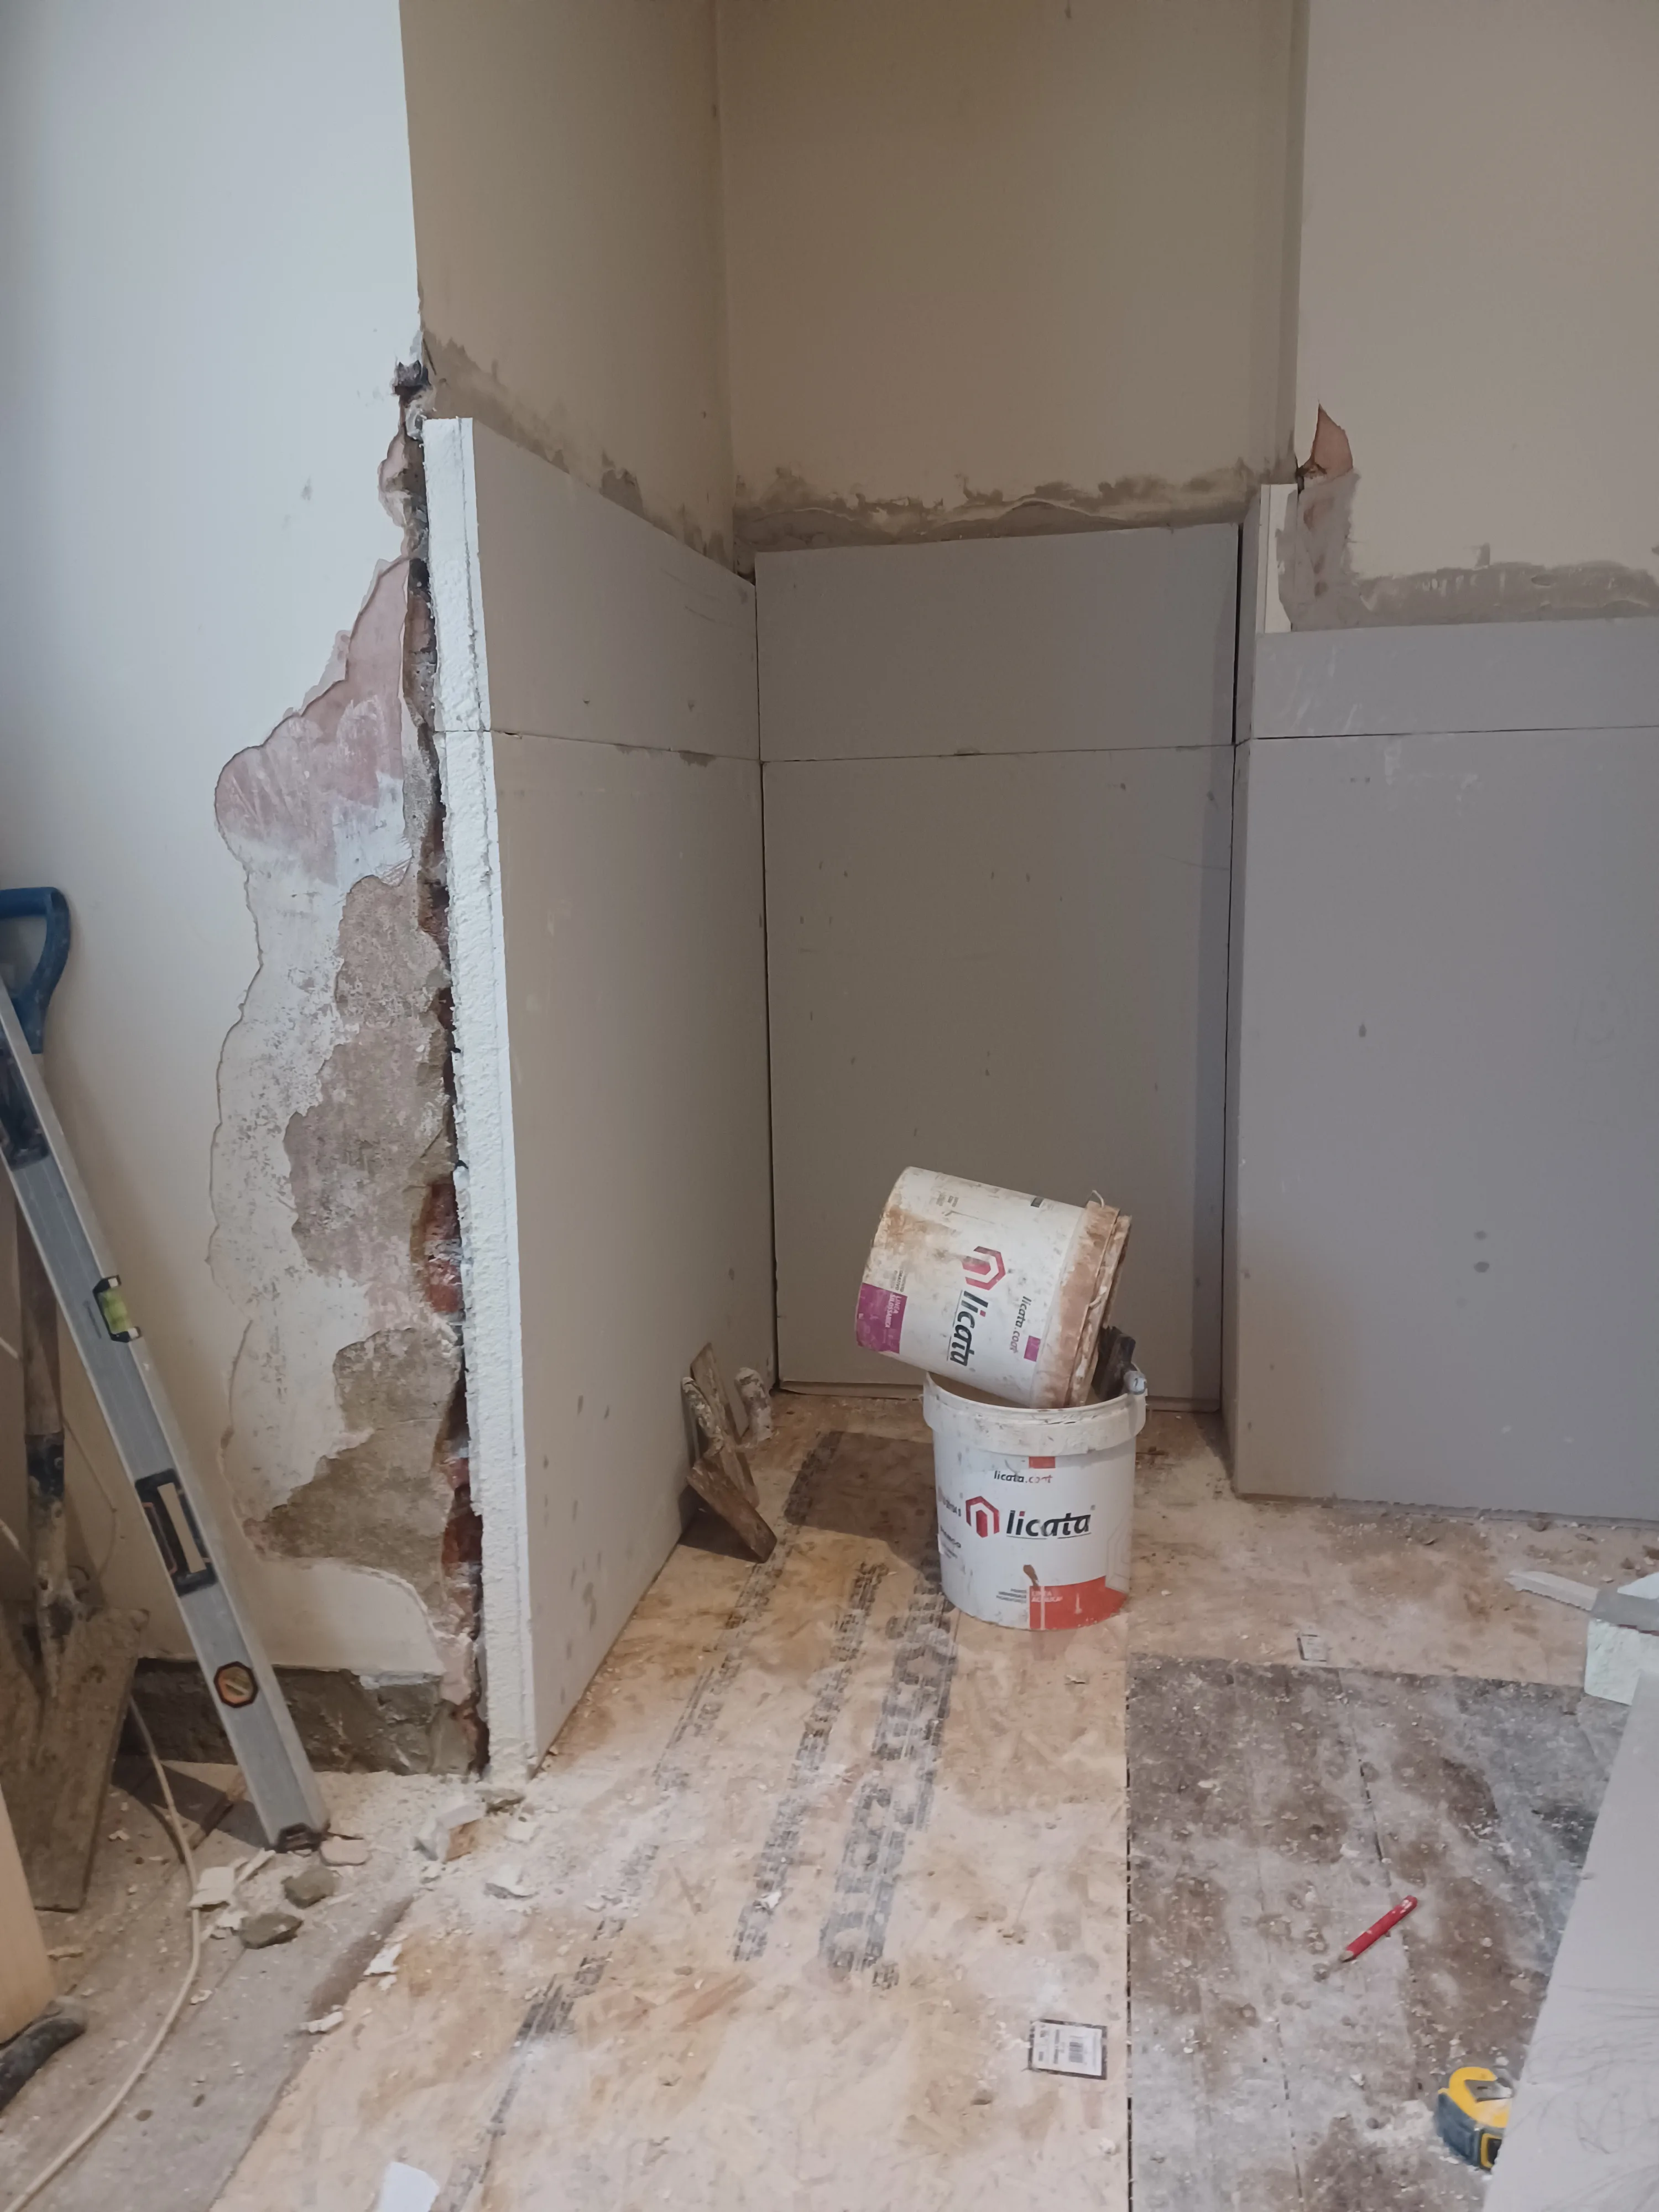
Effective floor tiling starts with a level and stable subfloor. This guarantees that the tiles rest flat without rocking, which is vital for large format tiles and long-lasting durability.

Property Improvement Specialists
We believe precision is essential for floor tiling-done once, done right, and meant to last.

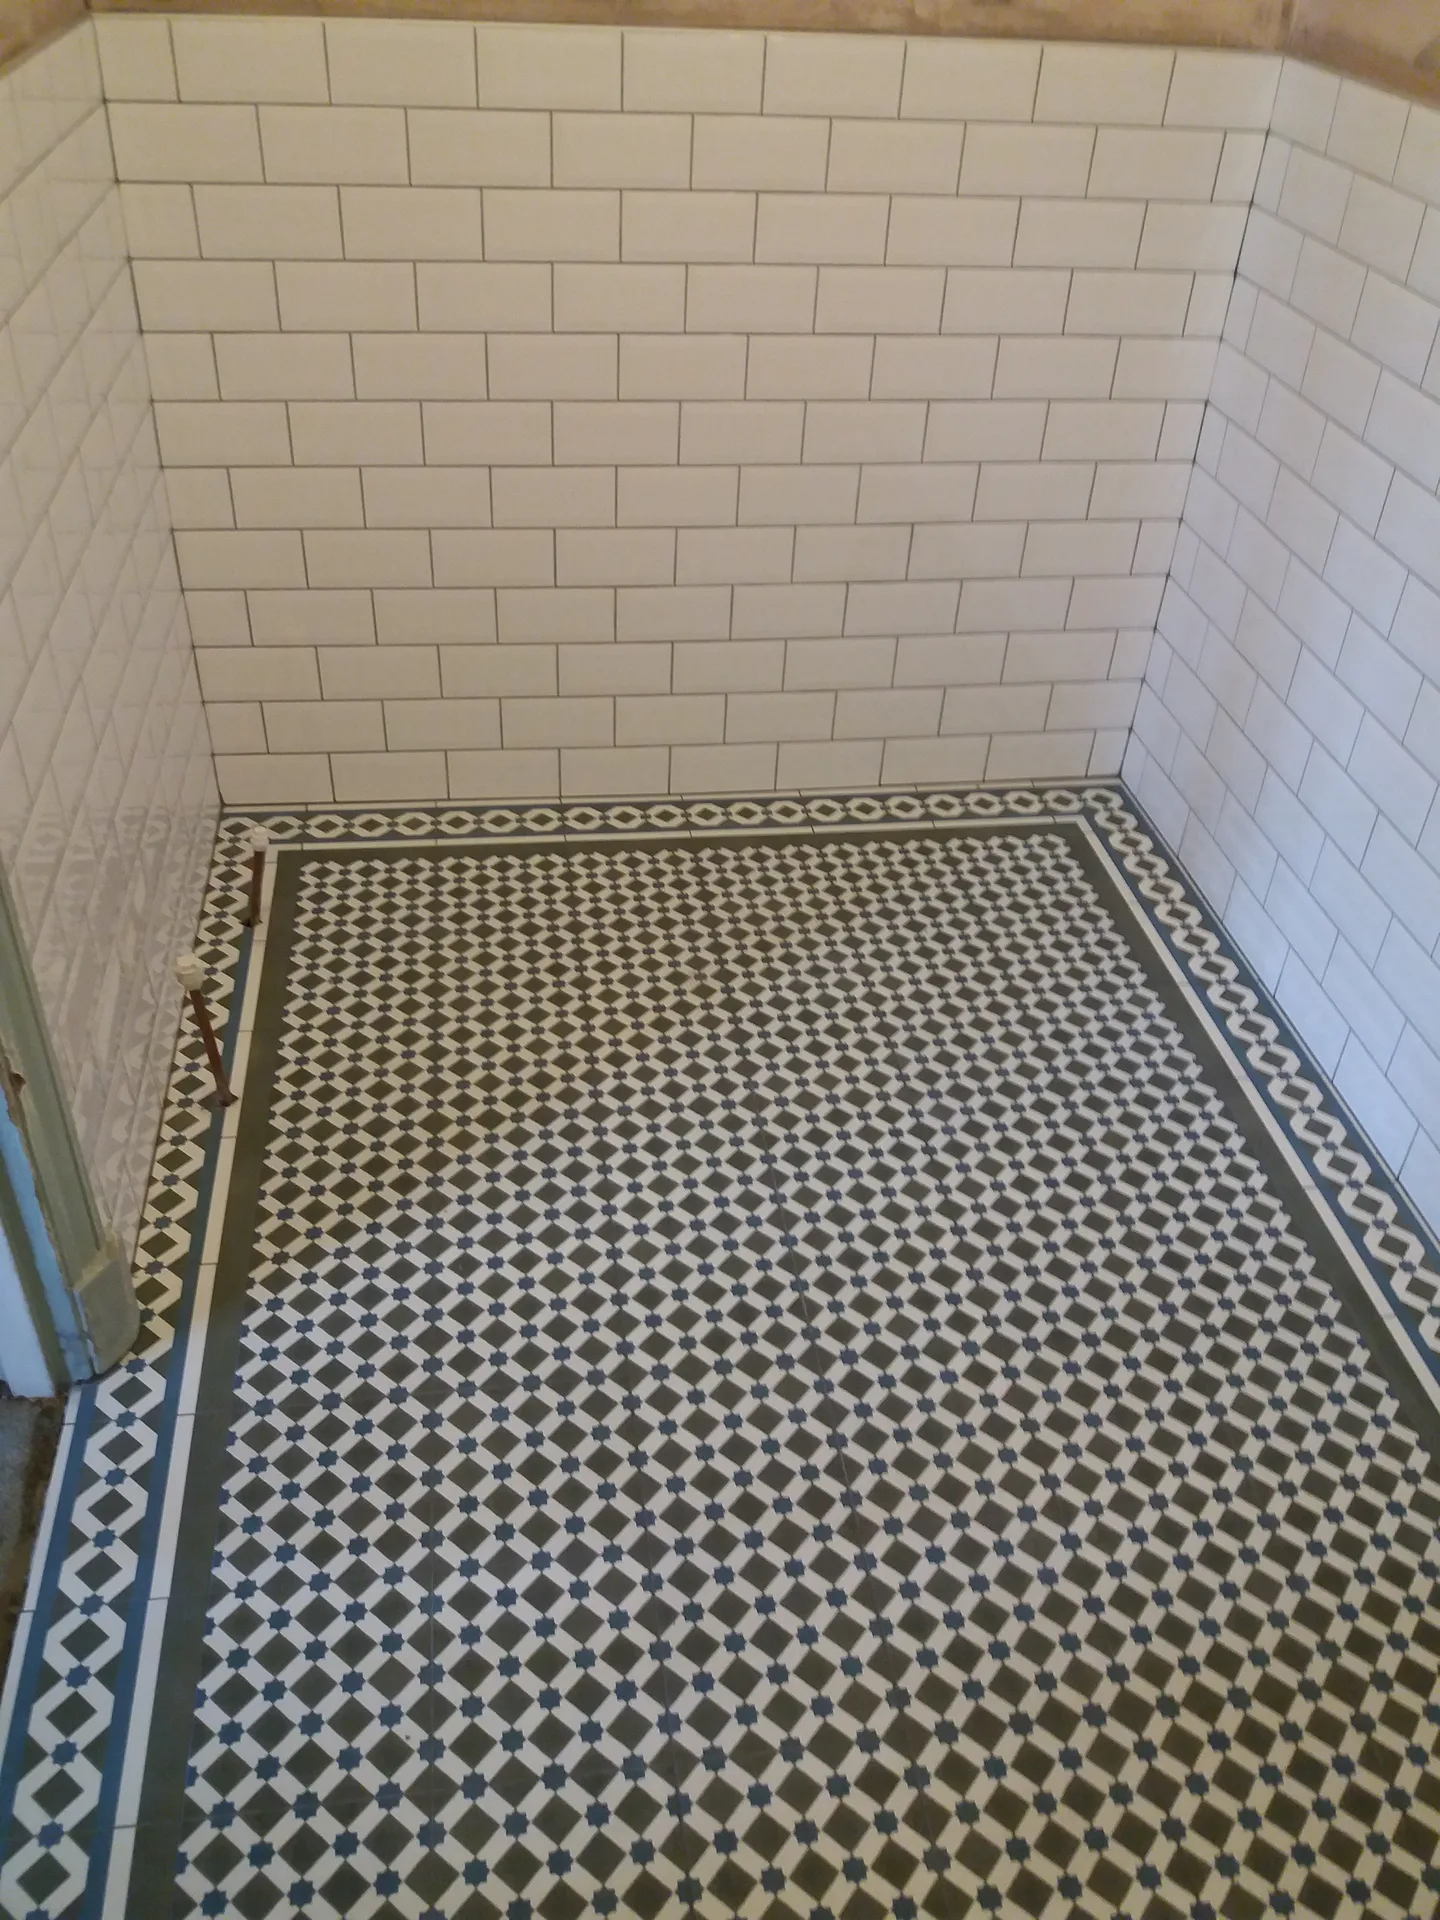
Homeowners renovating kitchens, bathrooms, or living spaces in Greenwich find value in professional floor tiling. With the correct installation of porcelain, ceramic, or natural stone tiles, you ensure durability and an attractive finish. We prioritize meticulous subfloor preparation to avoid unevenness and extend the life of the floor.
Businesses requiring reliable floor tiling for busy environments need precision and lasting results. Whether it’s a retail shop or an office in Greenwich, appropriate tile selection and flawless installation are crucial. Proper floor tiling performed by experienced tradespeople like us minimizes maintenance concerns and keeps the area safe and appealing.
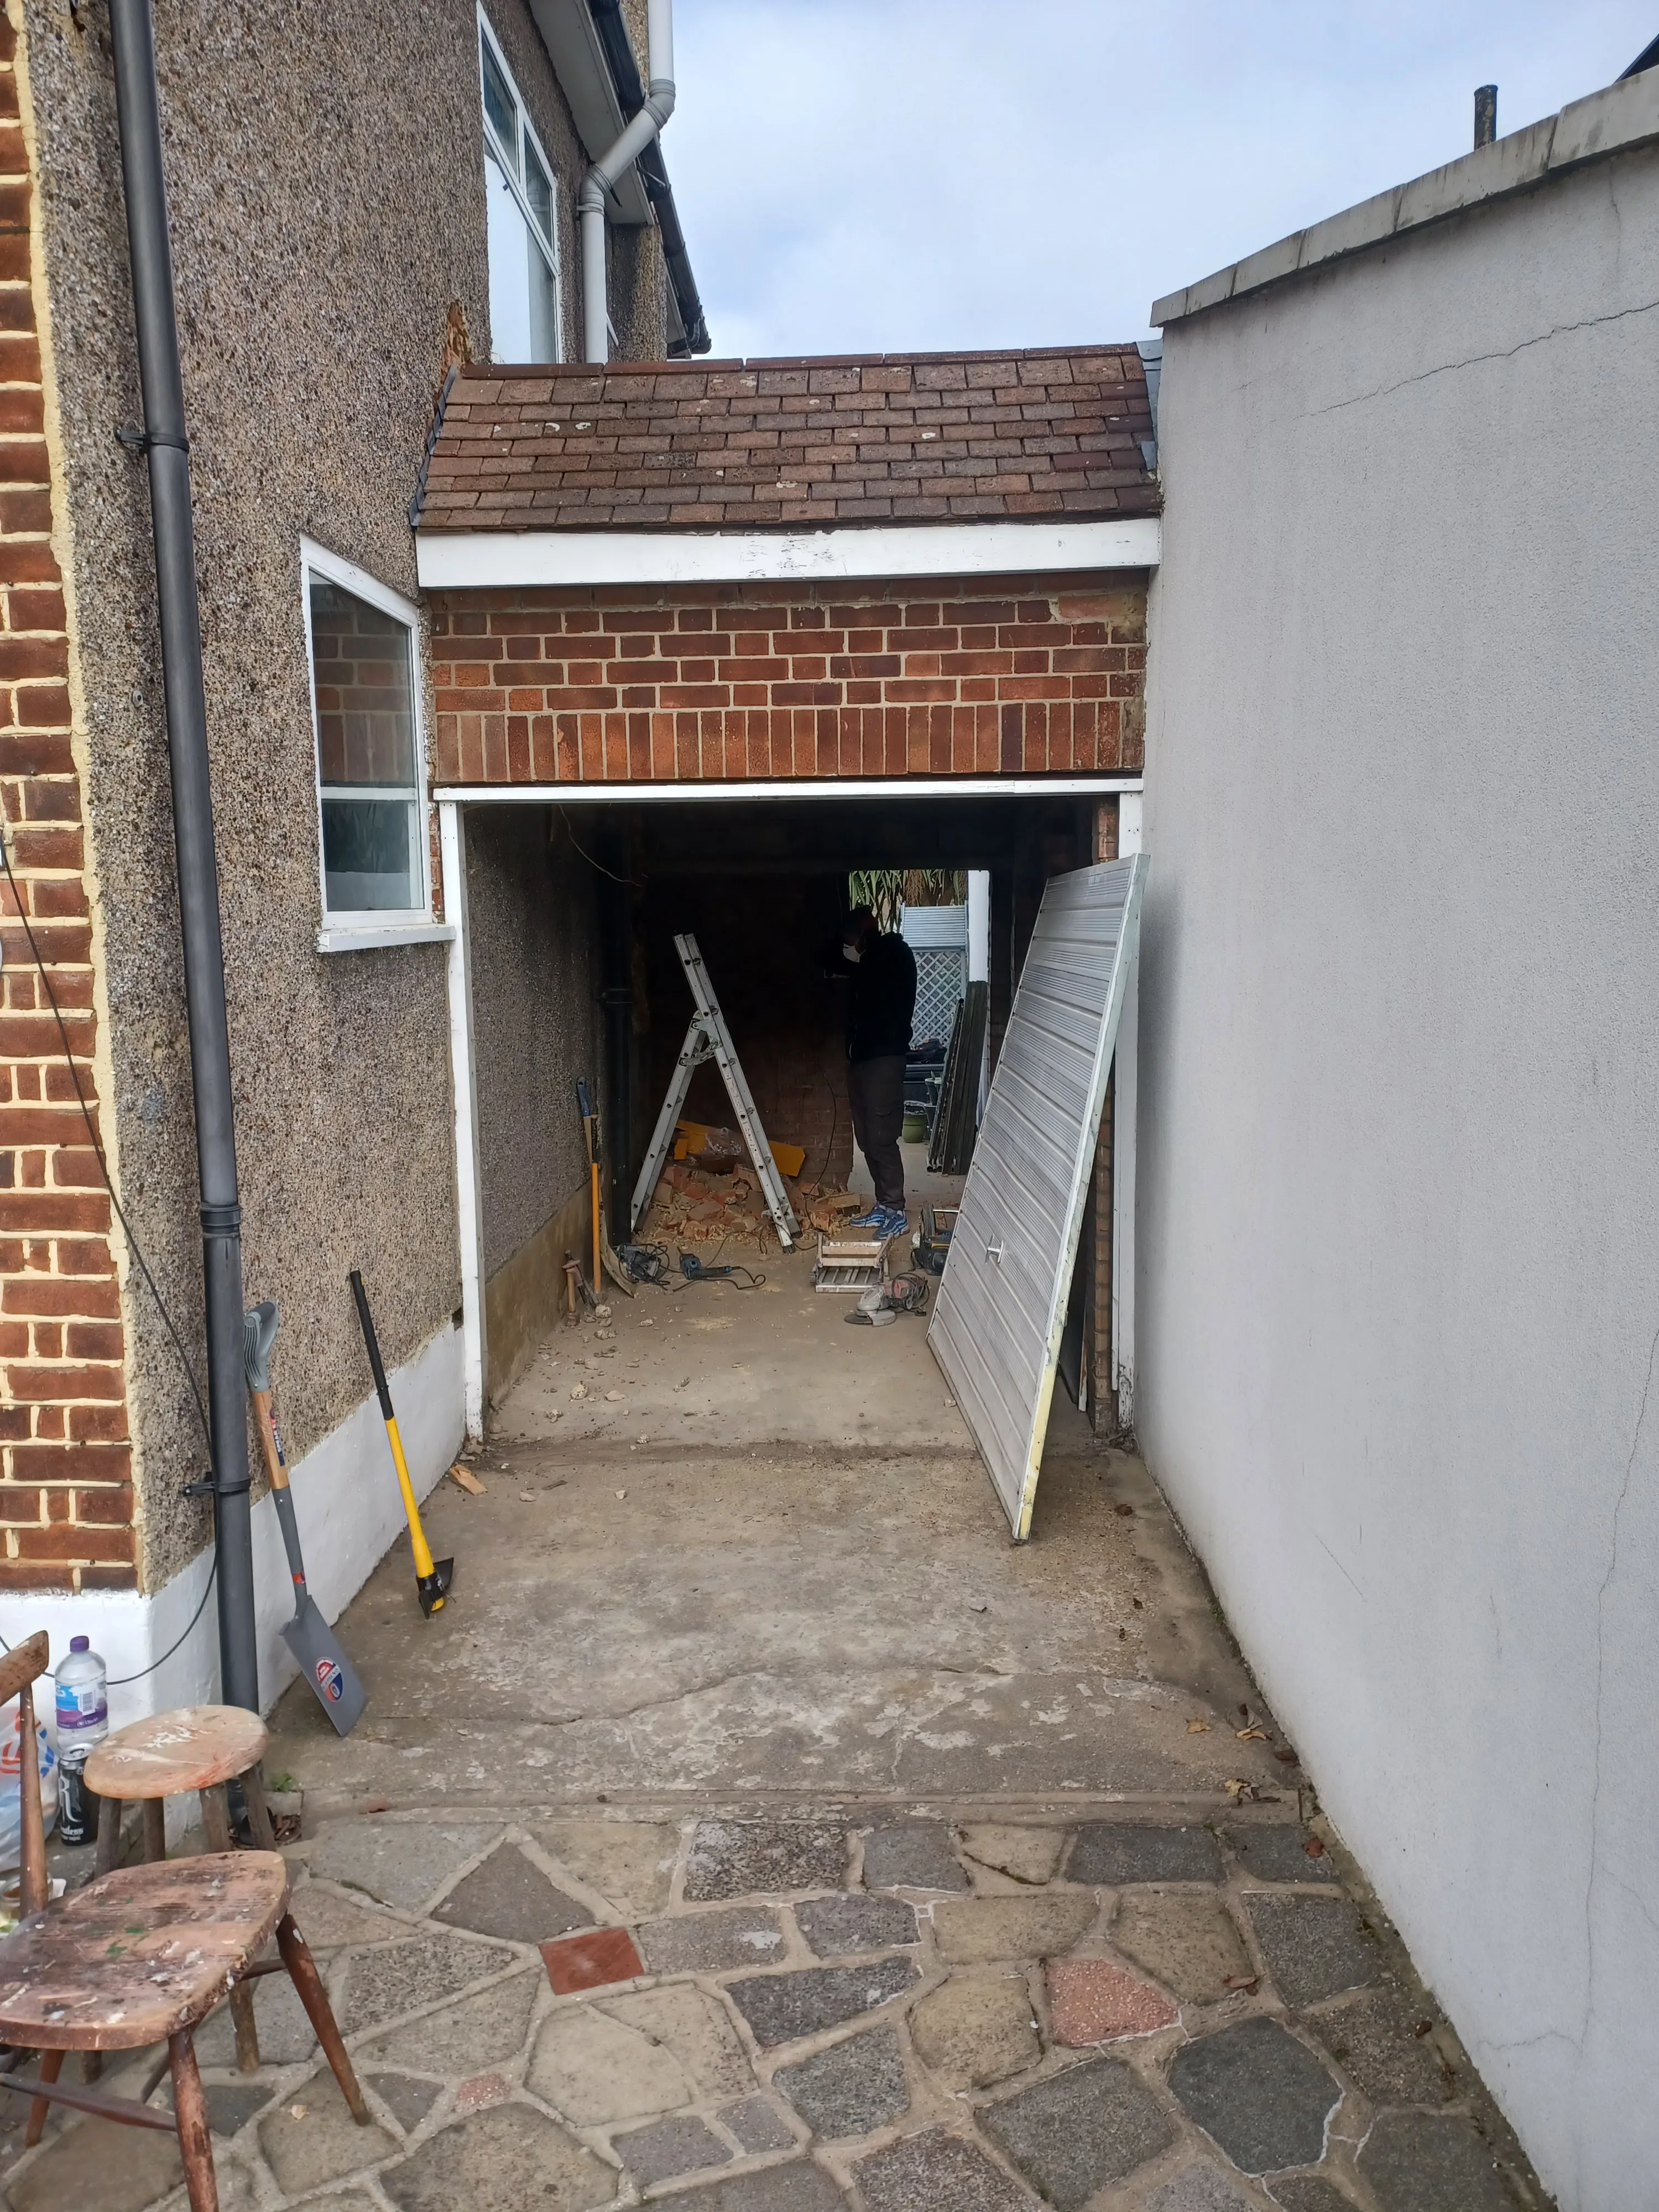
Transforming garages or unused spaces into functional areas requires careful attention to floor tiling for new usage conditions. A levelled and prepared subfloor is essential to support large format tiles without instability. Our three decades of experience guarantee floors that withstand daily wear and serve their intended purpose perfectly.
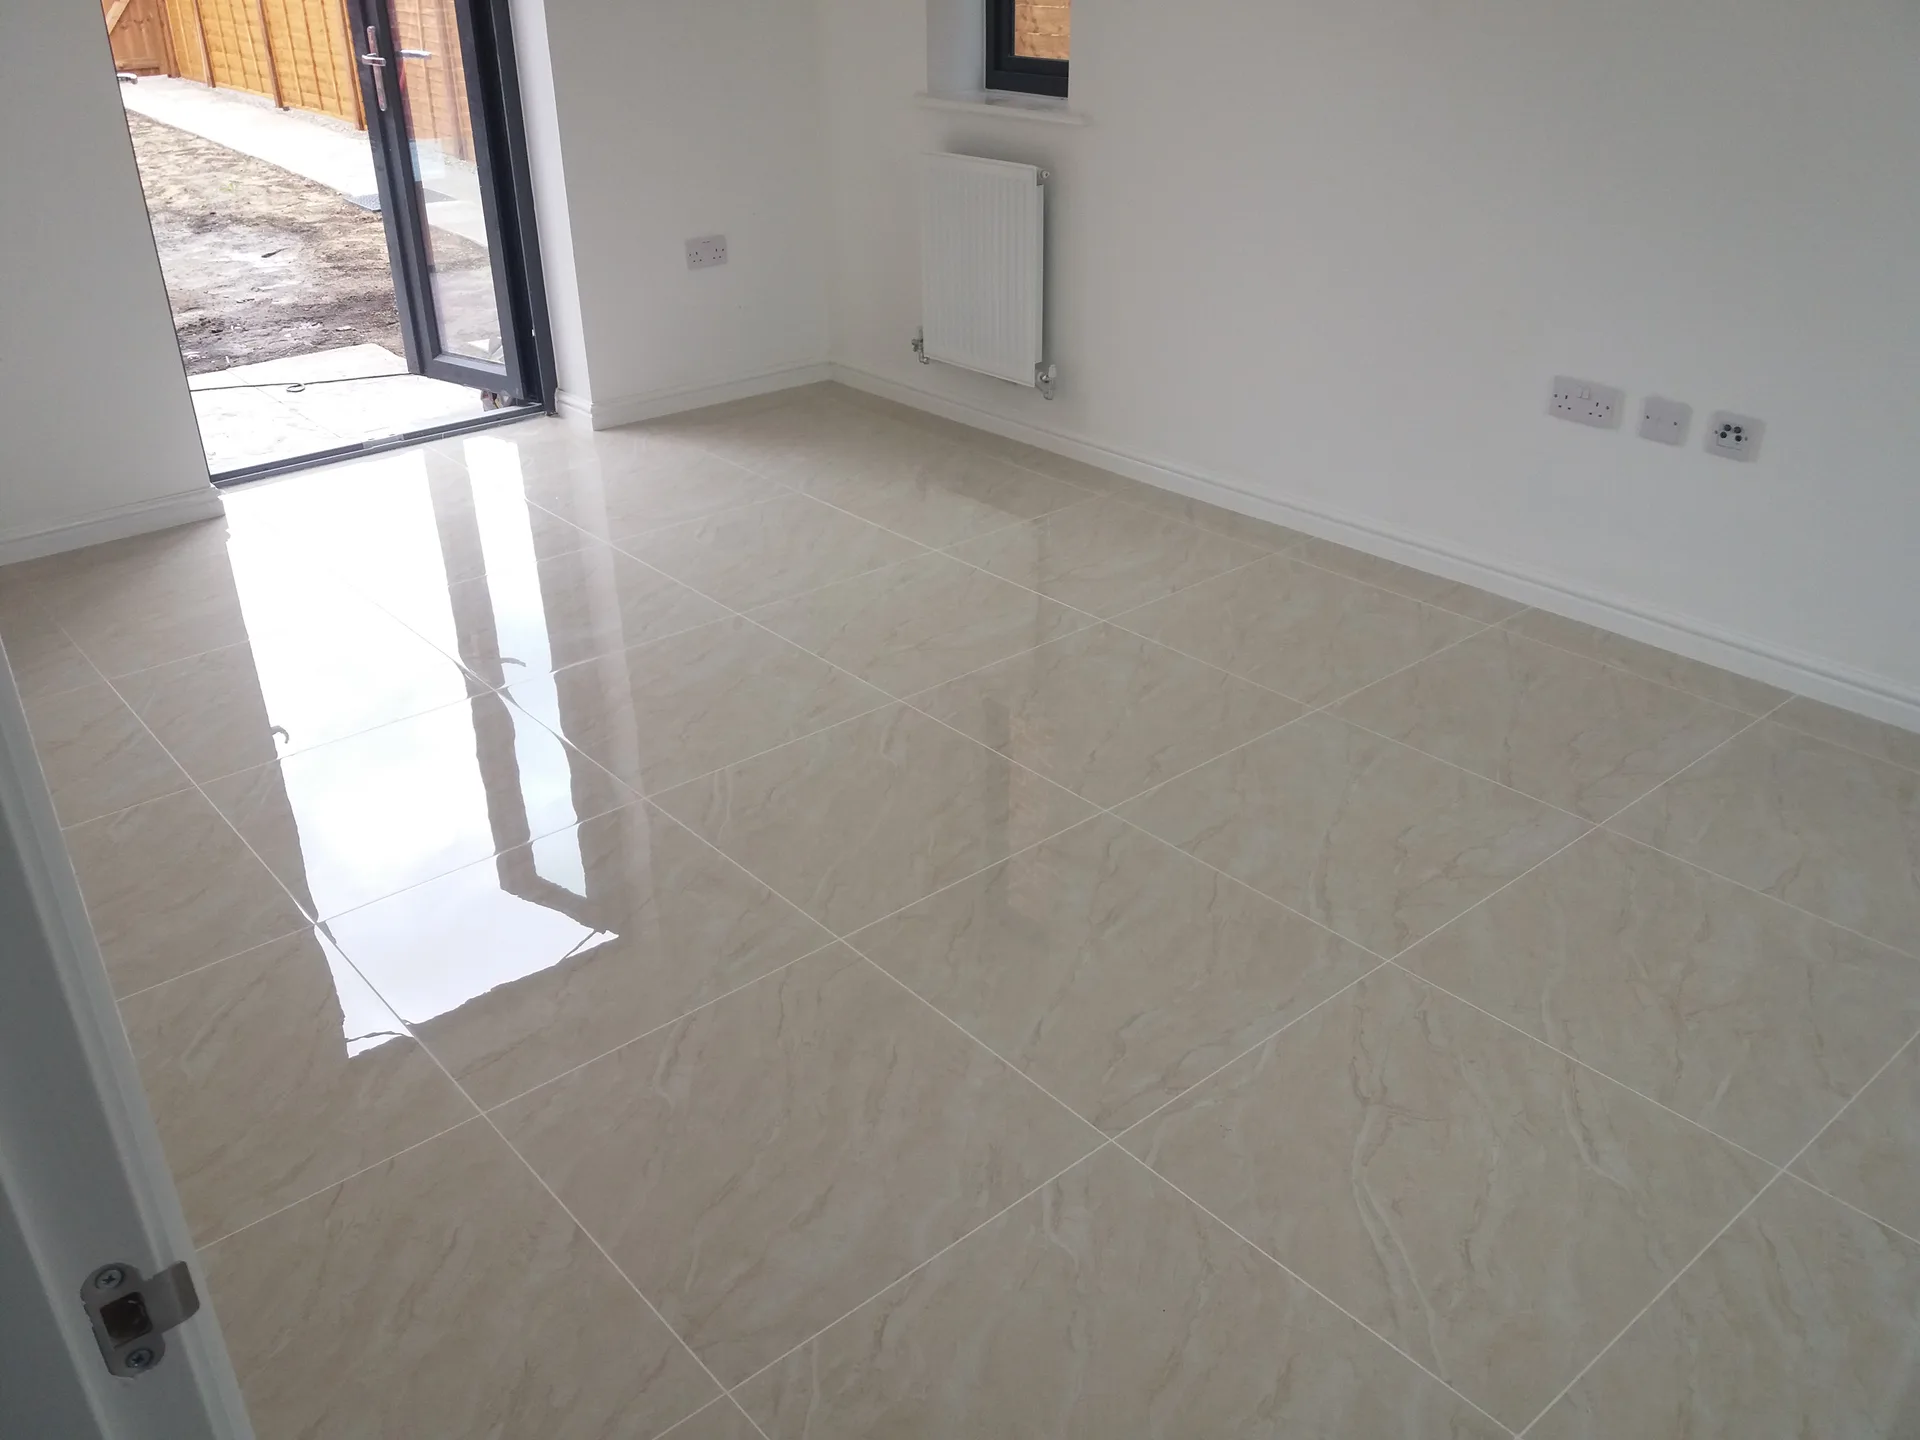
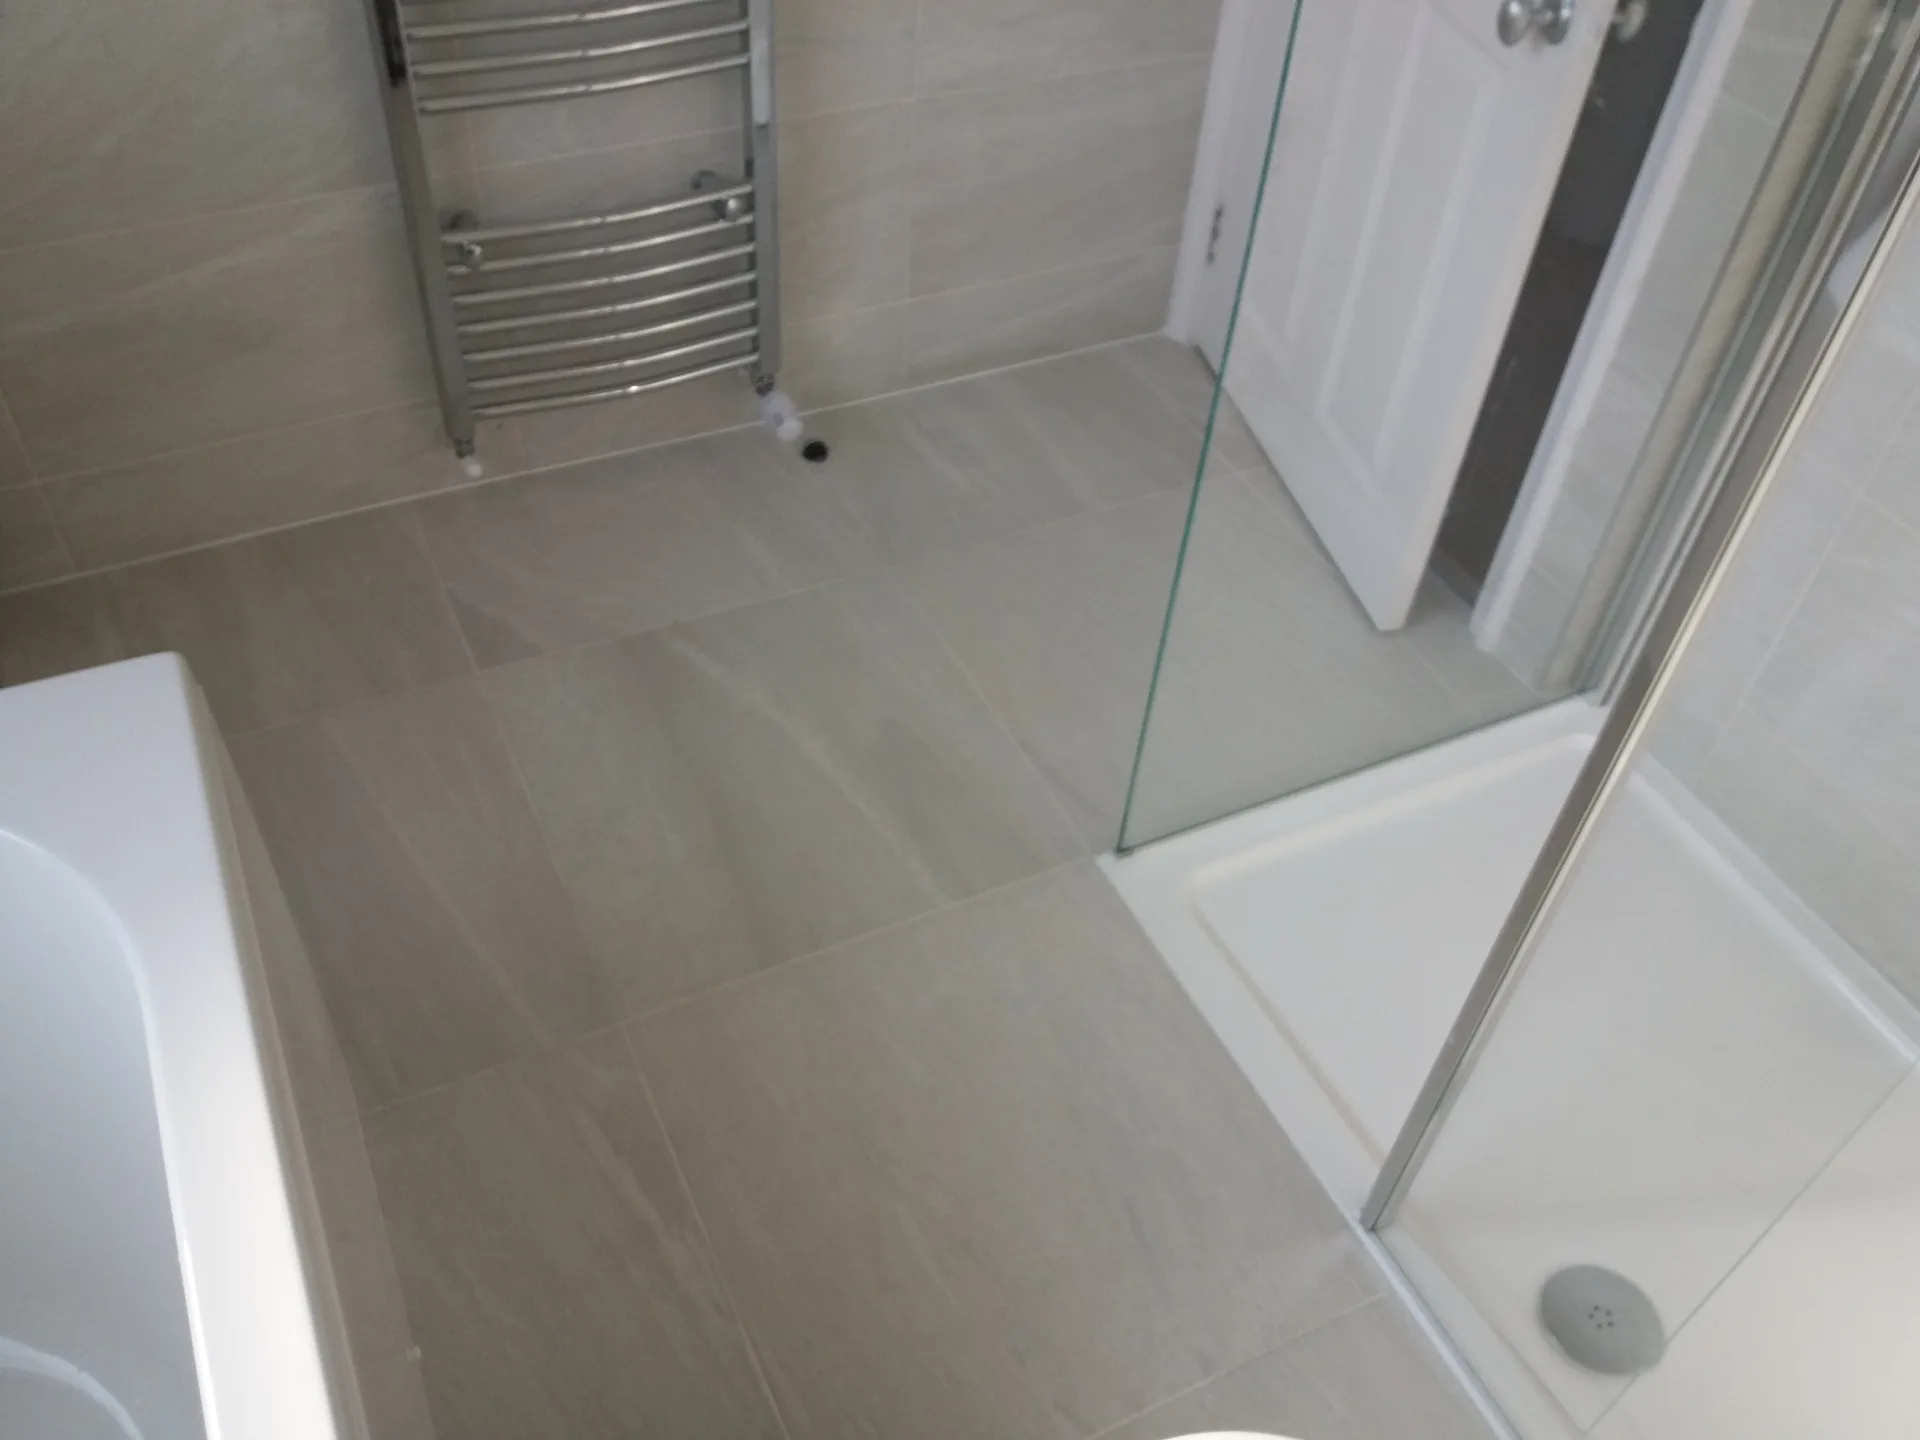
Fine dirt damages glazes fast. Small grains of garden soil get dragged across the doorway, slowly grinding down the top shine like sandpaper whenever muddy boots scrape against the clay. We see this issue often when reviewing floor tiling in Greenwich homes after rainy spells. Harsh cleaners strip protective sealants right off grout channels. Use neutral floor wash instead.
Spills stain grout porous cement. When grease splatters near the range cooker or pet food sits wet by the scullery skirtings, unsealed cement lines drink up dark liquid within minutes. Reapplying clear sealer keeps liquids pooled on the surface. Wipe spills with a damp sponge. Plain water works best here.
Effective floor tiling starts with a level and stable subfloor. This guarantees that the tiles rest flat without rocking, which is vital for large format tiles and long-lasting durability.
Measuring accurately and planning effectively reduces waste and helps control expenses. With professional floor tiling, you receive exactly what’s necessary without excess ordering.
Using suitable adhesives and grouts for porcelain, ceramic, or natural stone ensures that the floor withstands daily use and moisture exposure, particularly in kitchens and bathrooms.
Meticulous tile alignment and grout application yield a neat, uniform appearance. Professional floor tiling avoids uneven joints and messy grout lines that could compromise both appearance and function.
Our service includes clear communication, formal agreements, and timely project completion. Engaging with us means no unexpected issues and a clear process from beginning to end.
Heavy furniture blocks hallway routes. Moving the cast radiator, freestanding cooker and tall cupboards into an adjoining sitting room gives us clear walking space for floor tiling in Greenwich without chipping your paintwork. Dust sheets catch rogue flecks. Clear every corner completely.
Internal doors frequently catch afterwards. Solid timber doors drag across thick porcelain slabs once fresh screed builds up the height, requiring careful unhinging and hand-planing along the bottom edge before re-hanging. We check these clearance gaps against timber architraves early on. Planing wood takes time.
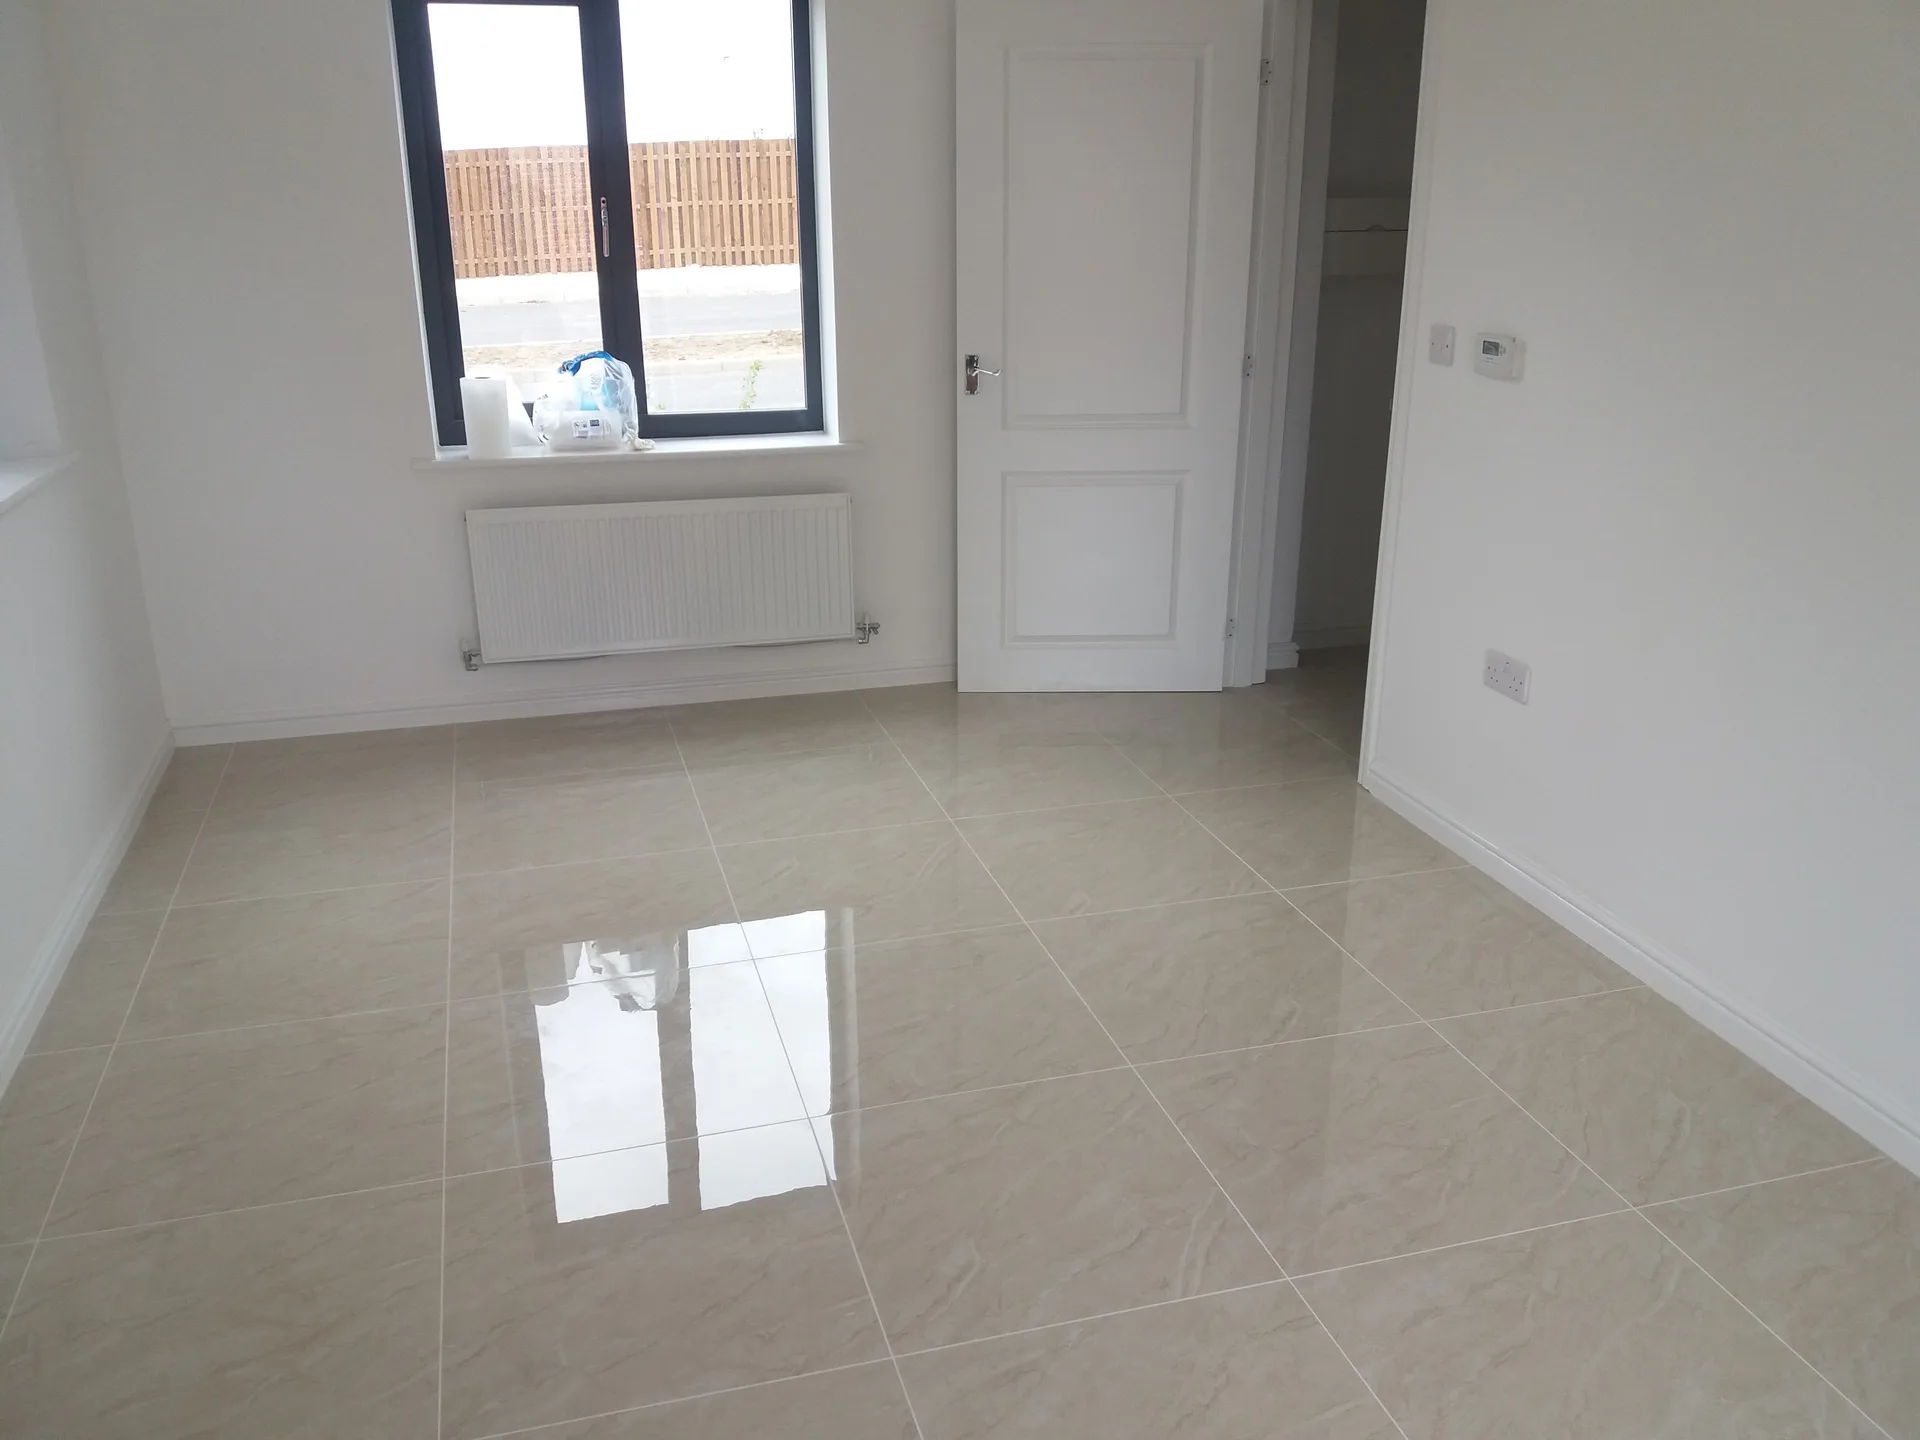
We initiate floor tiling by carefully measuring the area to determine materials needed and identify any challenges early. This step clarifies the project scope and ensures the process flows smoothly.
Next, the subfloor is cleaned, levelled, and primed to establish a stable, flat foundation. Proper preparation is crucial, especially for large format tiles, as it prevents uneven surfaces or tiles from shifting.
We arrange the tiles in advance to verify alignment and spacing with the approved design. This hands-on setup helps avoid cuts in challenging spots and ensures the floor tiling achieves a cohesive and professional look.
Using the right adhesive for the tile type and environment, we install each tile carefully, maintaining straight lines and consistent gaps. This stage requires accuracy to ensure both durability and a flawless appearance.
After the adhesive sets, grout is carefully applied and thoroughly cleaned. We seal grout lines where necessary to guard against moisture and stains, finalizing the floor tiling with a tidy, enduring surface.
Floor tiling commences with meticulous subfloor preparation. We concentrate on leveling and stabilizing the base, particularly when installing large format tiles. This initial work is crucial; a poorly prepared floor can rock or crack over time. A significant portion of our time is dedicated to ensuring the floor tiling is flat and durable.
The actual floor tiling is executed with precision, utilizing porcelain, ceramic, or natural stone tiles selected for both durability and aesthetics. We emphasize alignment, spacing, and appropriate adhesives to fit the conditions of the room-whether it’s a kitchen, bathroom, or converted space. After setting the tiles, we clean and seal grout lines to protect against wear and stains, resulting in a strong, professional finish.
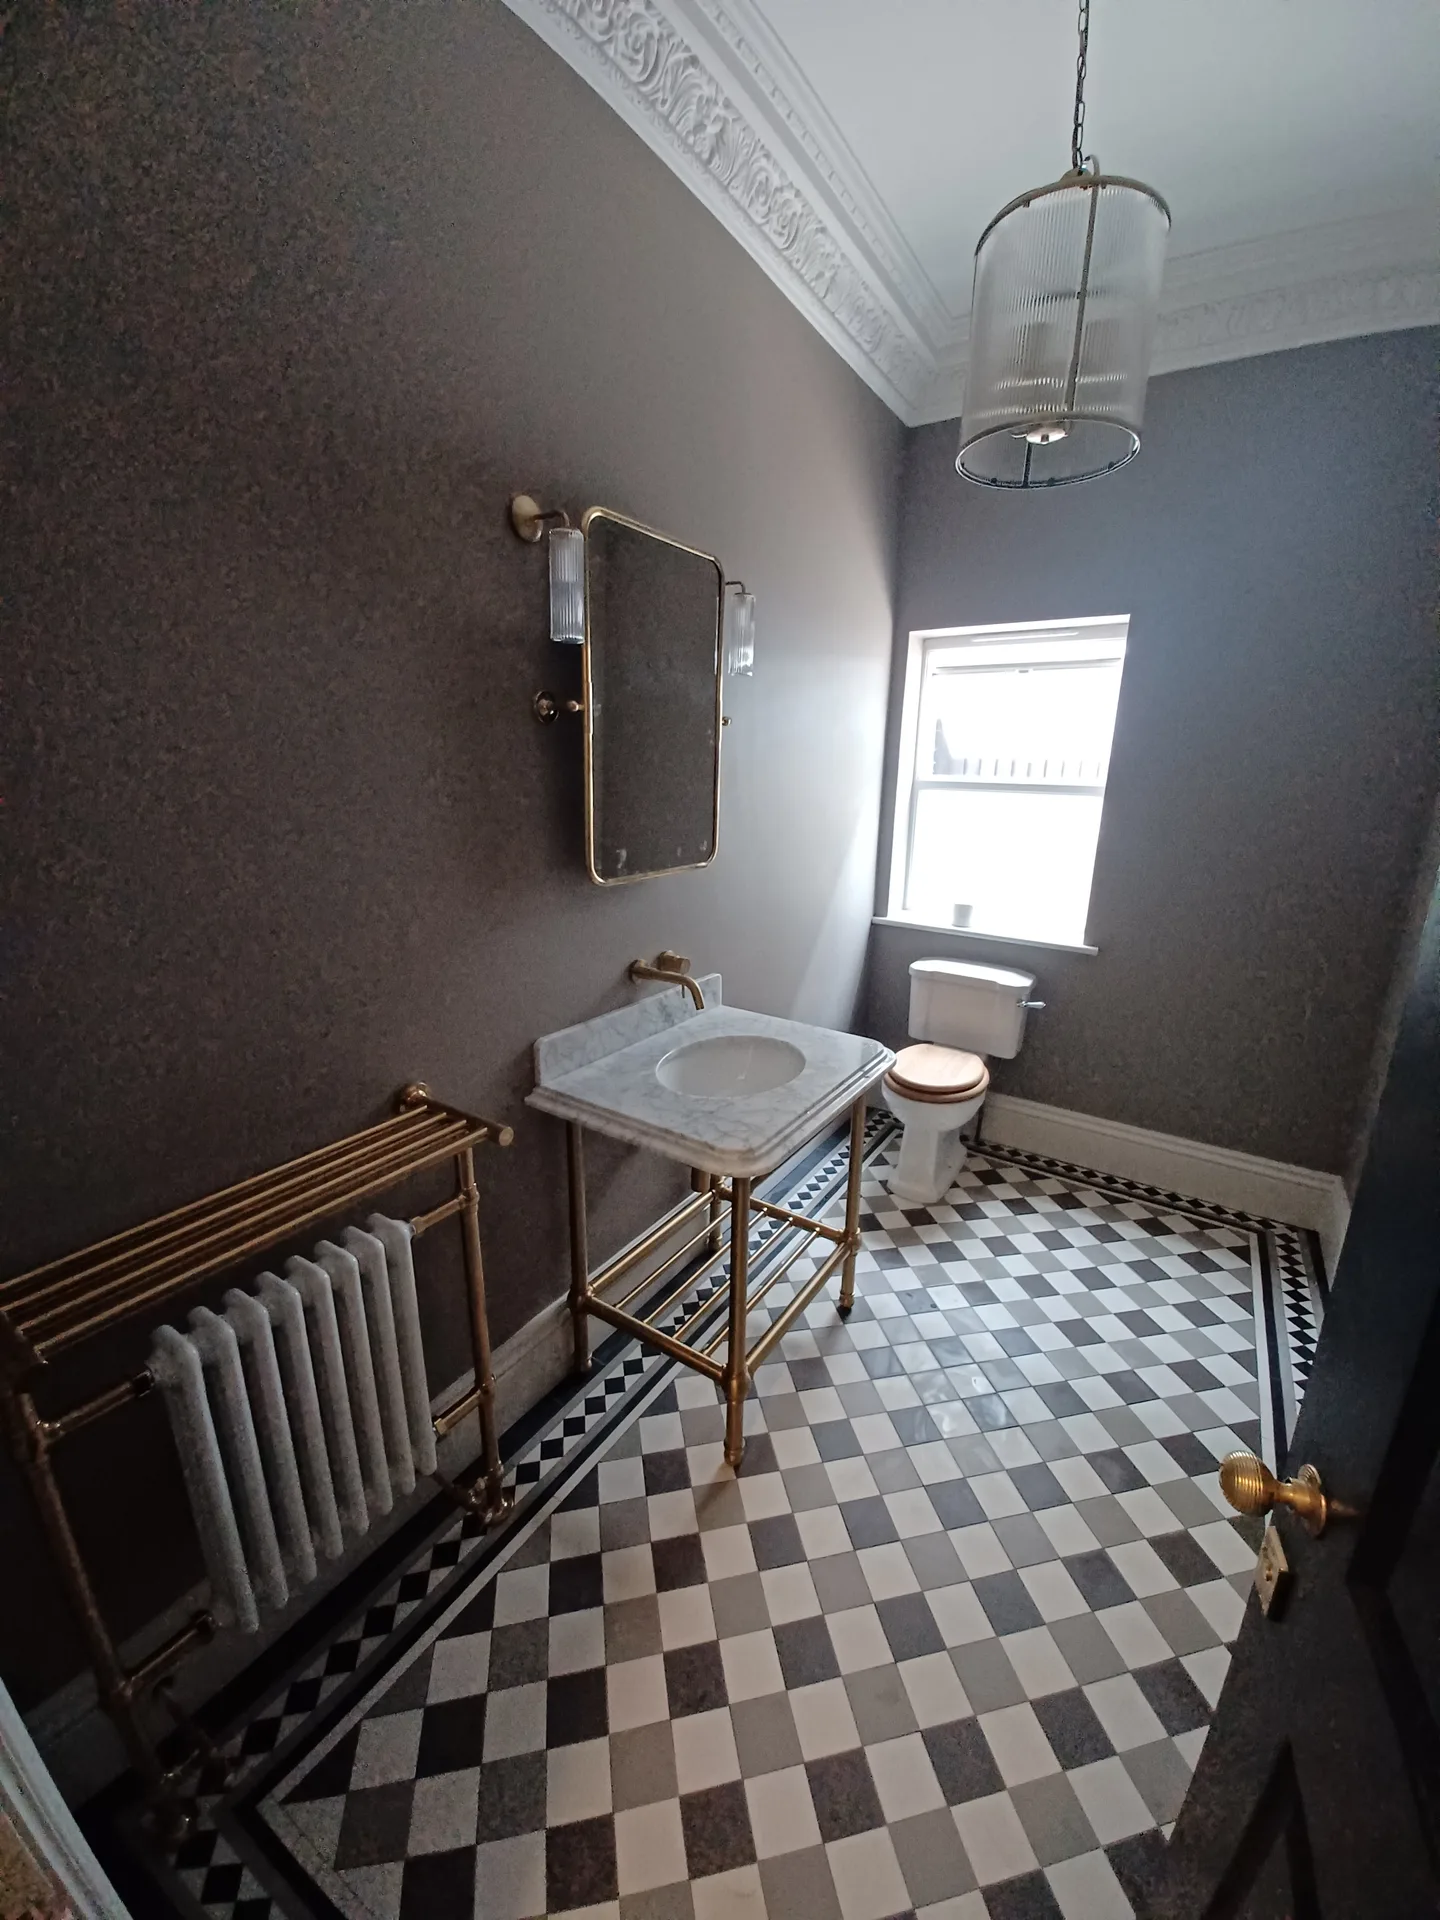
Freezing drafts slow compound setting. When chilly river wind slips through drafty kitchen garden doors, cementitious adhesive takes far longer to grip the underside of vitrified porcelain. We check indoor room warmth carefully before starting floor tiling in Greenwich properties during cold snaps. Cold slabs reject wet mortar.
Floors shift between summer sun and autumn damp. When timber joists flex under changing air humidity, stiff stone splits right down the center unless flexible expansion strips sit along perimeter plasterboard walls. Uncoupling membranes prevent that structural shock from migrating directly into delicate surface tiles. Leaving clear perimeter gaps prevents buckling.
Heating cables require slow commissioning. Firing up heating loops immediately shocks wet adhesive, causing hollow voids beneath heavy slate pavers. The system must sit dormant until screed dries out naturally. Turning dials up gradually protects your floor.
Floor tiling in Greenwich
Expert Preparation
Effective floor tiling is dependent on the surface beneath. We allocate most of our effort to preparing and leveling the subfloor to ensure that large format tiles lie flat and do not shift. This careful groundwork prevents future issues, such as cracks or uneven wear, that often arise from hasty or inadequate preparation. Reliable floor tiling truly starts with a solid and stable base.
The process of installing floor tiling takes more than just laying tiles down. Each piece is measured and aligned meticulously to fit the approved layout, using suitable adhesives and grouts appropriate for the material and environmental conditions. Our practical experience ensures a floor that not only looks right but also endures daily wear, especially in kitchens and bathrooms, where moisture resistance is essential.
In Greenwich, we’re ready to assist you with floor tiling. You can reach us by phone to discuss your project, or we can provide a free estimate during a site visit.
The Google map loads after you accept marketing cookies.
Real feedback from homeowners across South East London and Kent who trusted us with their renovations.

Very satisfied with the service! Excellent communication, clean workmanship, and everything completed professionally. Highly recommended!
Our services
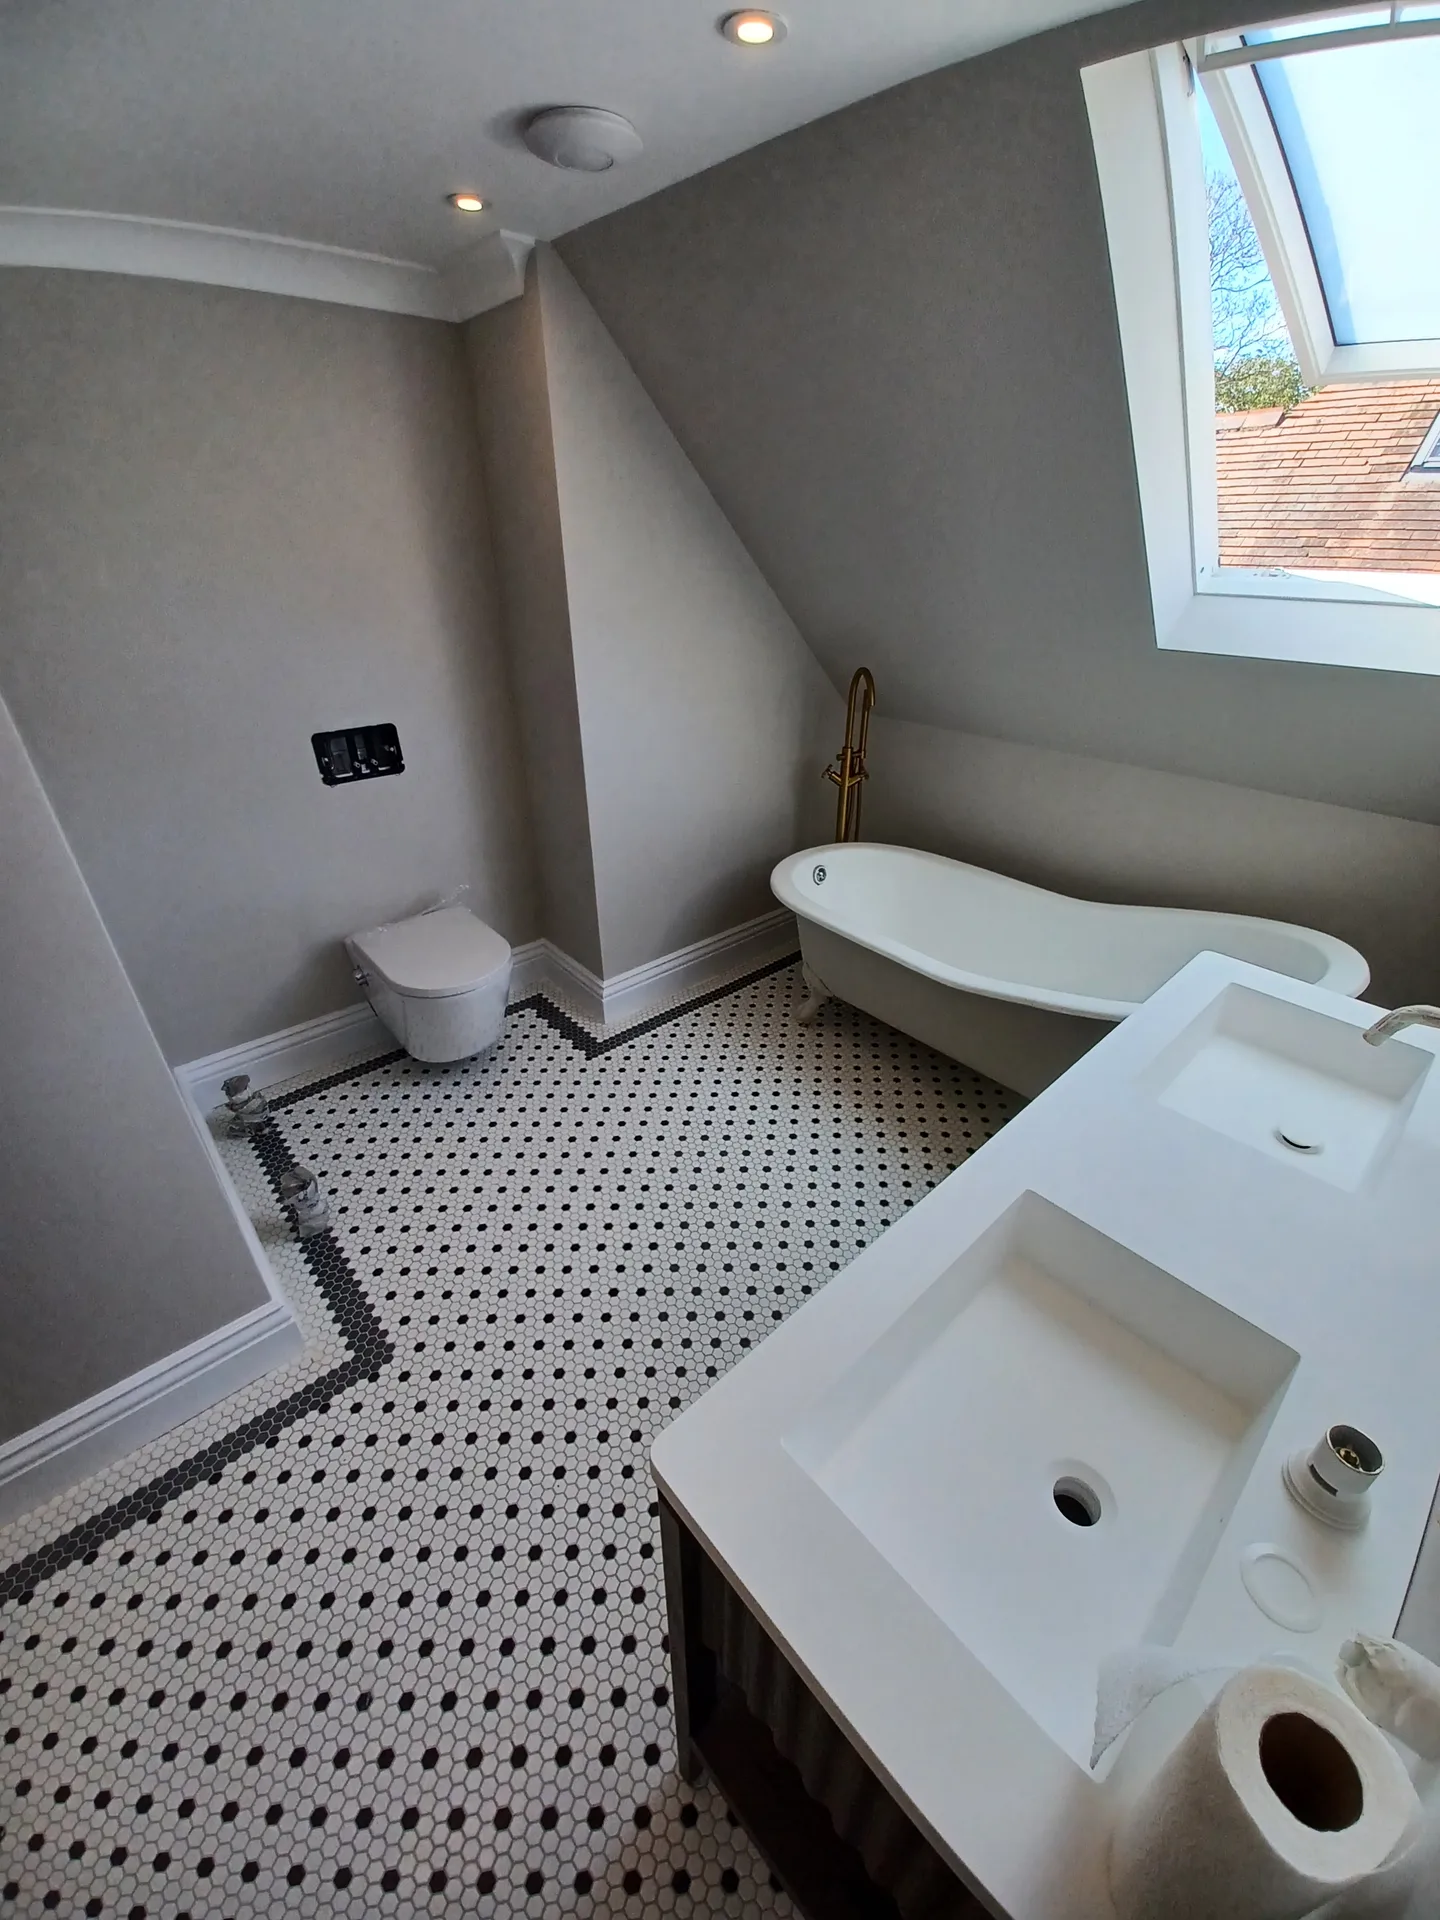
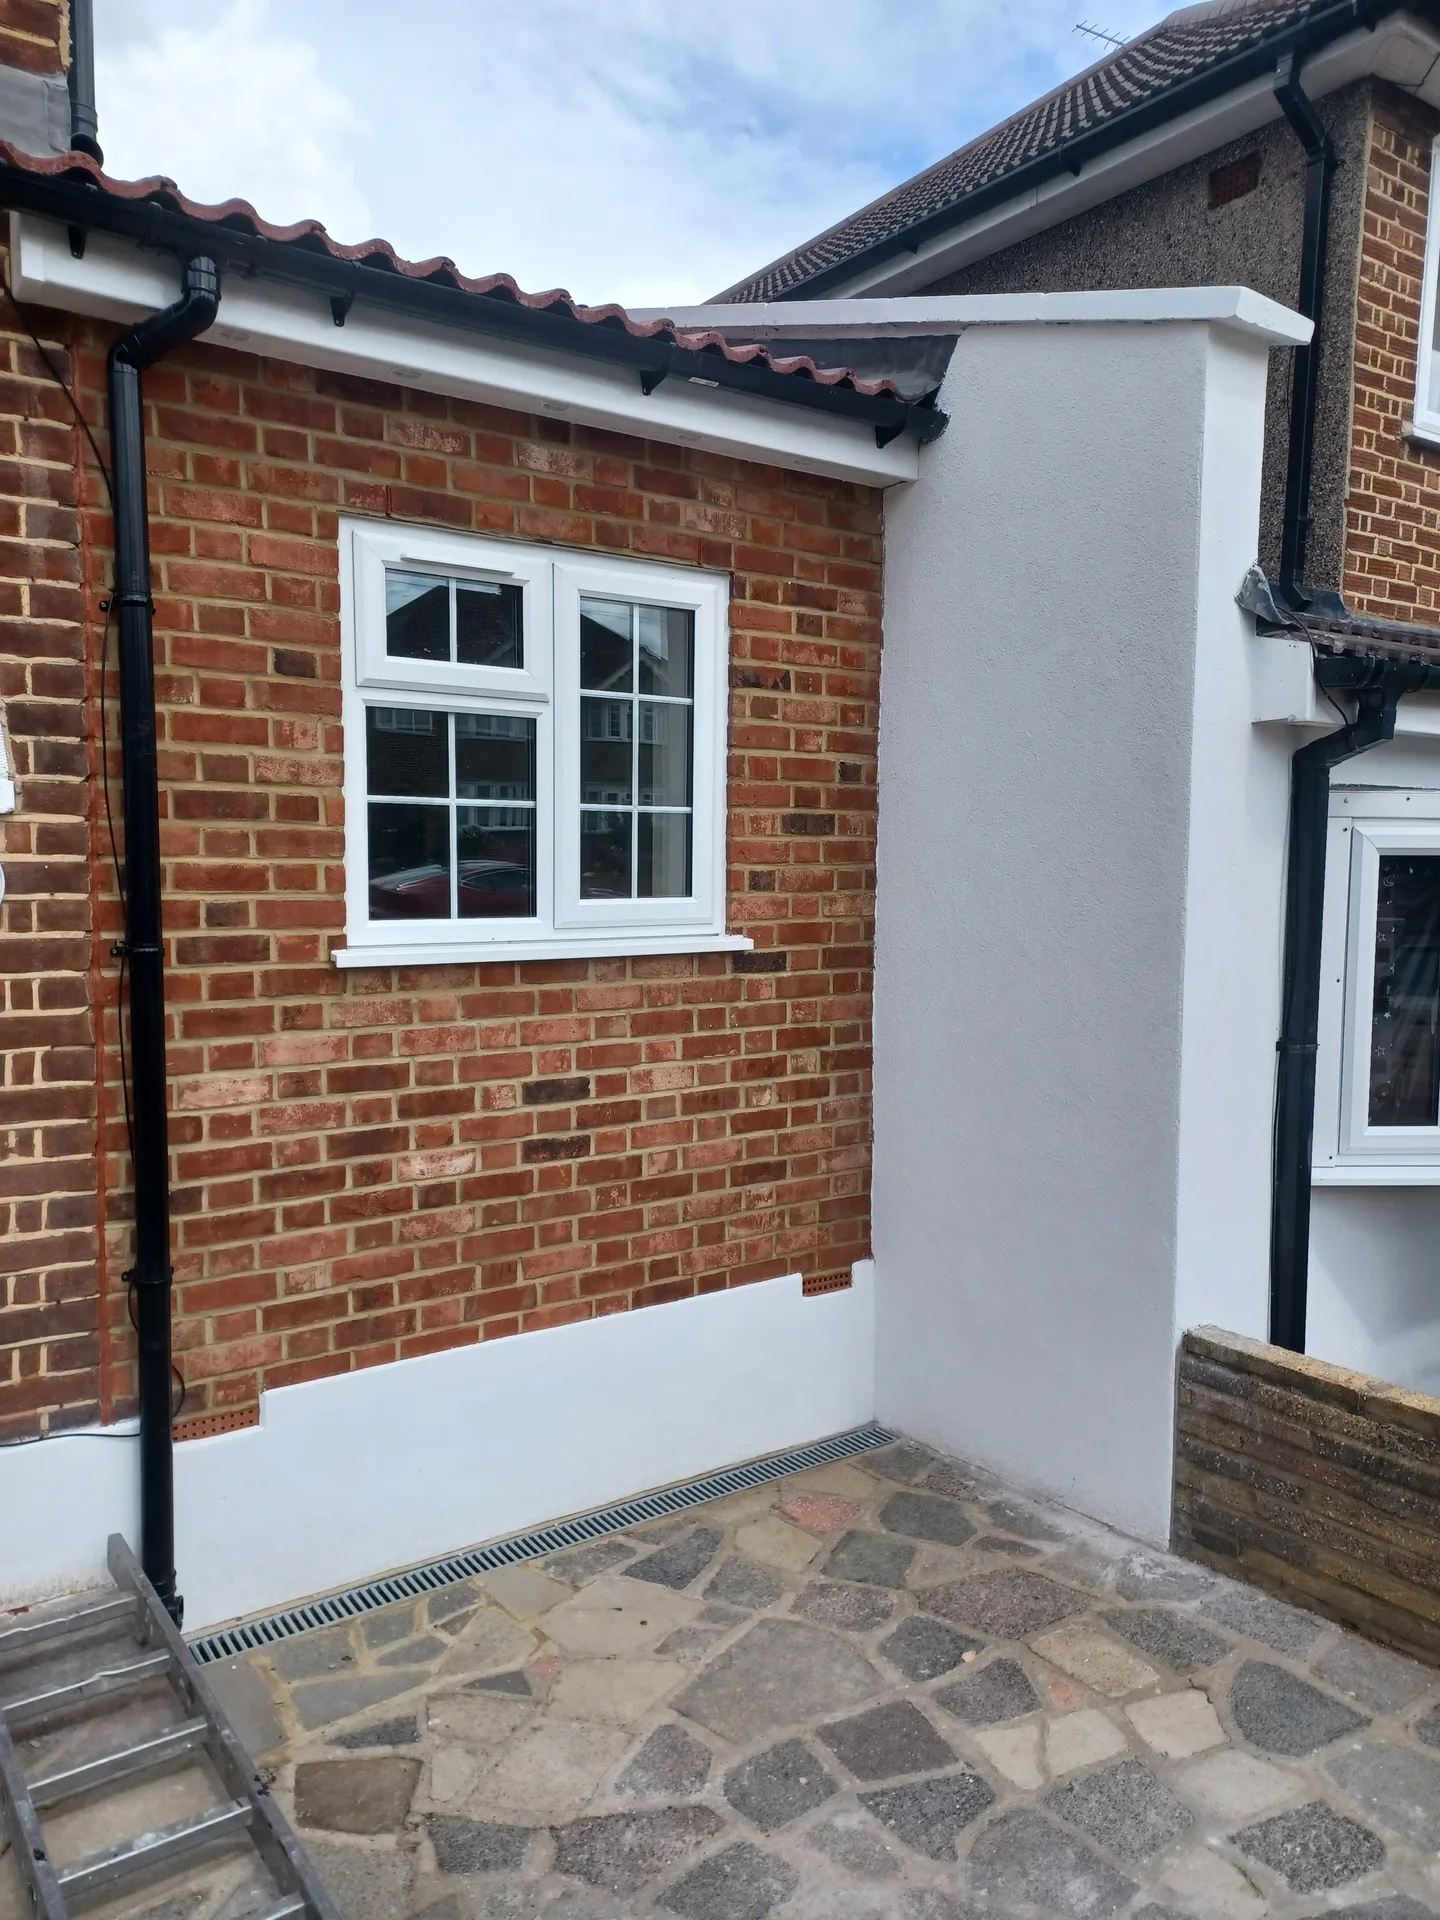
OUR PROJECTS
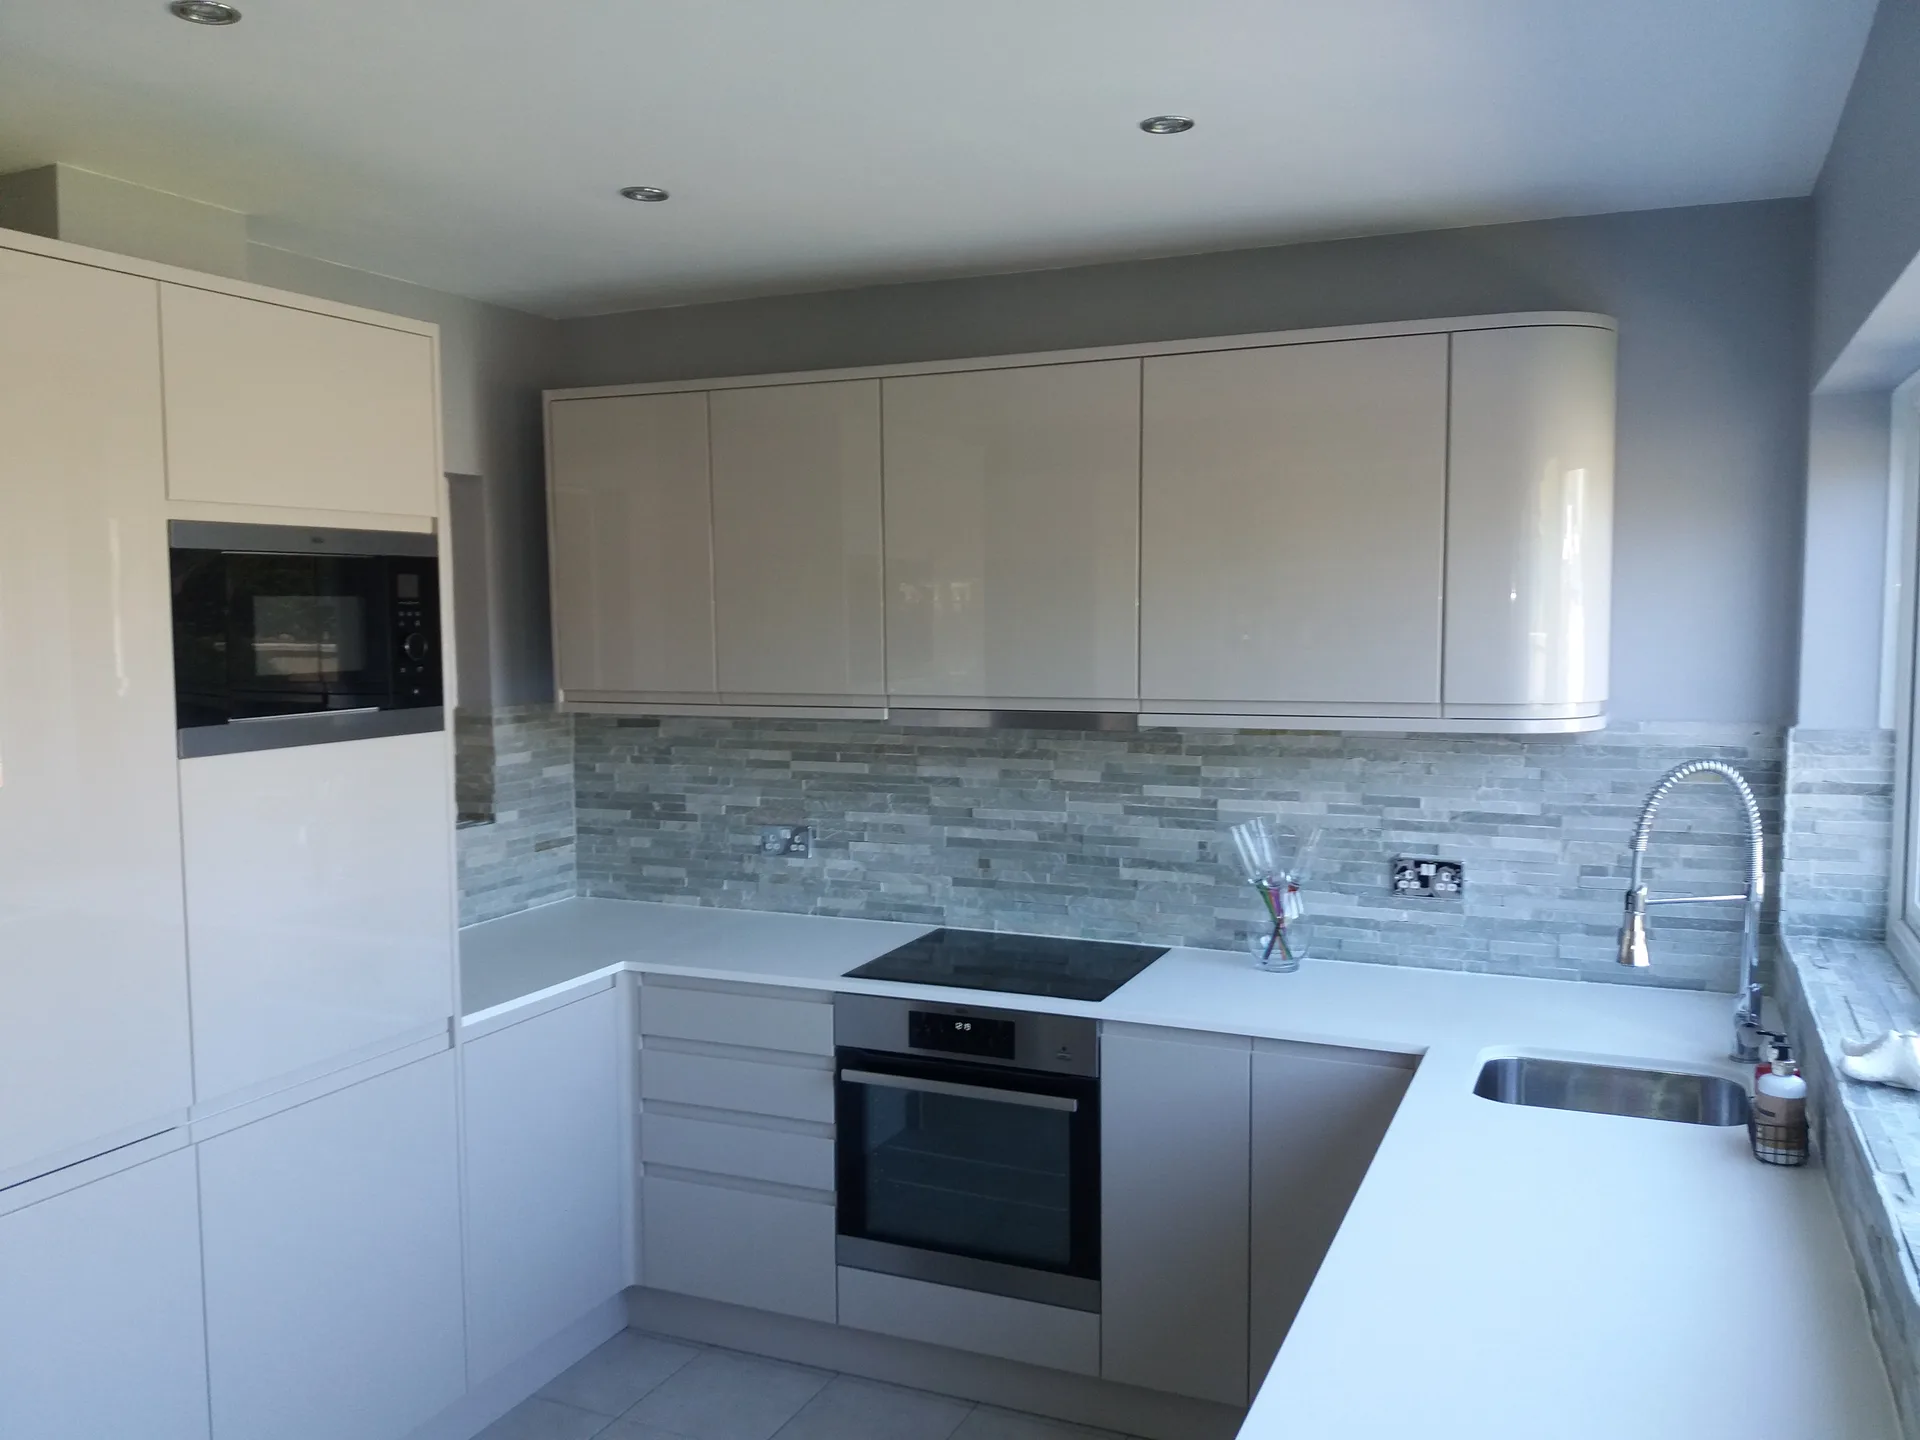
Every project delivered by our builders leaves a finished space clients are proud to live in.
We are builders serving Swanley and every property within a 10-mile radius across South East London and Kent.
Vitrified porcelain resists heavy footsteps better than red ceramic, because the clay is fired under extreme heat into a dense mass that absorbs practically no water. Ceramic chips more easily if heavy kitchen pots drop, exposing a pale core beneath the coloured glaze.
Costs shift based on substrate stability rather than room size alone. A bouncy timber floor in Greenwich requires decoupling mats and levelling layers, whereas a sound concrete slab needs only a quick coat of primer before spreading out tile adhesive.
Walk across the dry surface and tap random tiles lightly to listen for hollow sounds underneath. Look along the joint lines to confirm the grout sits flush without pinholes, and ensure room thresholds align smoothly with your adjoining carpets or floorboards.
Competent tilers dry-lay tiles across the room before opening adhesive bags, checking how border cuts land against walls. Ask them how they manage tricky door thresholds and movement gaps around the edges, rather than focusing purely on speed.
